Once a month, LPS teachers have a “teacher-led” staff meeting. Teachers must be in the building from 3 to 4 working on anything of their choice. After going to the Saturday Reunion at Teachers College and Literacy for All, I was desperate to share all of the new ideas I’d learned. I’d been considering lots of different sharing options, and I realized I could offer it during these teacher-led Monday afternoons! So on Sunday morning, after getting permission from my principal, I started brainstorming my first Writing Clinics. The first task was to brainstorm the sessions and create an advertisement to share with staff. Thanks to Mr. Shu, I used Canva, and the graphic design was a piece of cake!
In general, I use the Workshop Model to plan my PD, so I created my agenda on conferring/small group work using the same workshop components that I use with students: book talk, minilesson, work, and share.
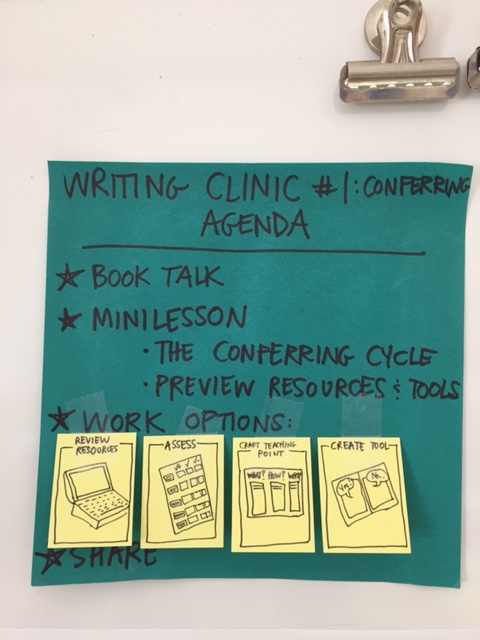
Book Talk and Minilesson
After a quick book talk on Carl Anderson’s, A Teacher’s Guide to Writing Conferences, I launched my minilesson. I decided a flow chart would be the simplest way to break down the conferring process.
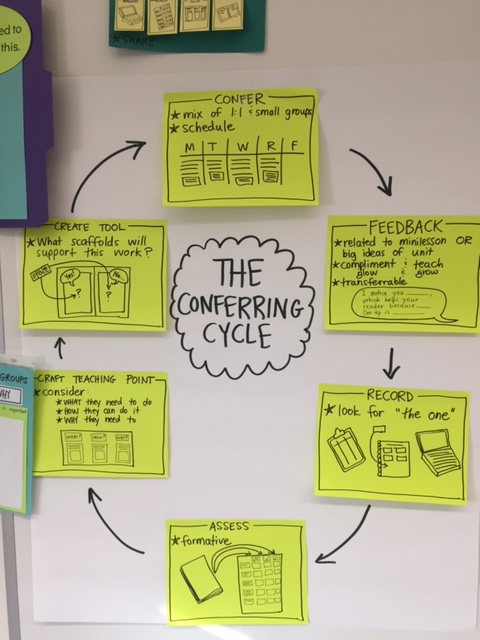
For each part of the Conferring Cycle, I asked myself, “Is there a meaningful tool that could support teachers’ work with this step?” Although I considered possibilities for each step, I decided to focus on the latter half of the Conferring Cycle because I thought they’d have the most impact on students and teachers. So I created a tool for the following steps of the Conferring Cycle: Assess, Craft a Teaching Point, and Create a Tool. By the end of the minilesson, I’d taped all of the possible tools teachers could make to the board as models of what they could create during the WORK portion of the WORKshop.
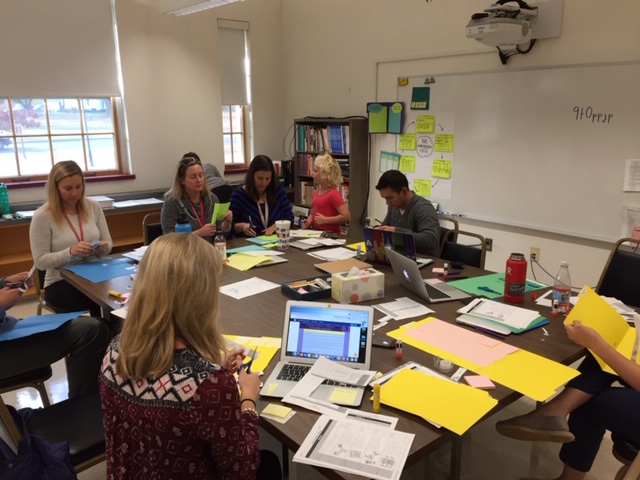
Work Options
Here’s a close-up of all of the tools that teachers had the chance to make at the first Writing Clinic along with how to use each one:
 “Assess” Tool: Formative Assessment using Checklists from the Units of Study
How the Assess Tool, Formative Assessment Using Checklists from the Units of Study, Works: Teachers cut up an illustrated checklist from the online resources for the Units of Study on Heinemann for the unit’s genre of writing and paste the criteria on the left hand side of an opened file folder. The three white blank labels at the top are for different categories: ✓+, ✓, ✓- or Meeting, Progressing, Emerging or Yes!, Starting To, Not Yet. The green sticky notes are for writing students’ names according to the level of the work they’re sharing during conferences. Tip: Laminate!
 “Craft a Teaching Point” Tool: What/How/Why Planning Template
How the Craft a Teaching Point Tool, What/How/Why Planning Template Works: I’ve noticed that many of the anchor charts from the TCRWP Units of Study lay out rigorous goals of what students should do, but they don’t tell HOW to do it or WHY it should be done. The same goes for the teaching point, so I created this scaffold to get teachers in the habit of planning the what, how, and why of the lesson, whether it’s for the whole class or small group. Of course, like all good scaffolds, this tool would become obsolete once the teacher develops this frame of mind for lesson planning. Tip: Laminate!
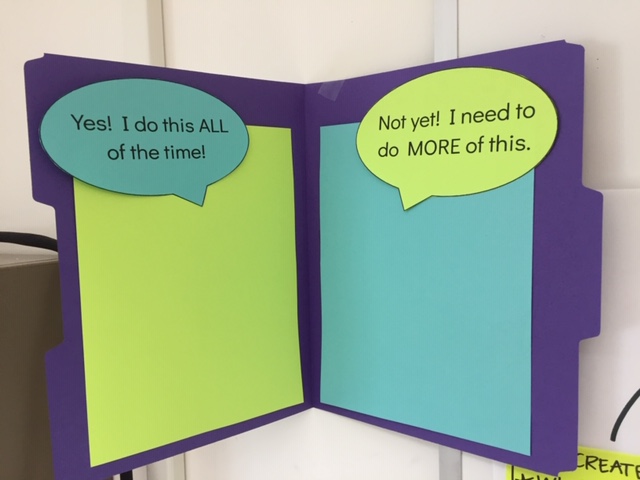
“Create a Tool” Tool: Checklist Sorting Mat (inside)
 “Create a Tool” Tool: Checklist Sorting Mat (front)
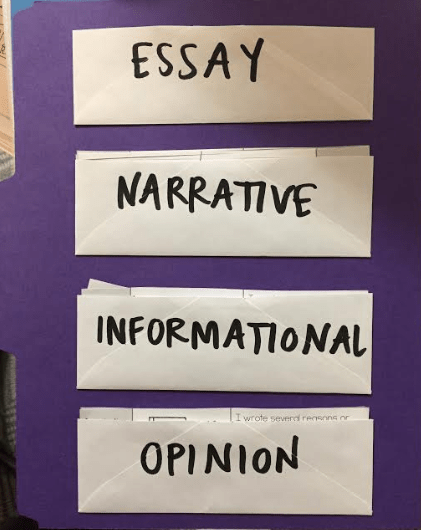
“Create a Tool” Tool: Checklist Sorting Mat (back)
How the Create a Tool, Checklist Sorting Mat Works: This tool, again, uses the checklists. This is a tool that encourages student self-reflection. They take strips of the checklist and decide if they are showing evidence of that work or not. Anything that lands on the “Not Yet” side turn into writing goals and can even be stored in a handy pocket in the student’s writer’s notebook. Tip: Laminate!
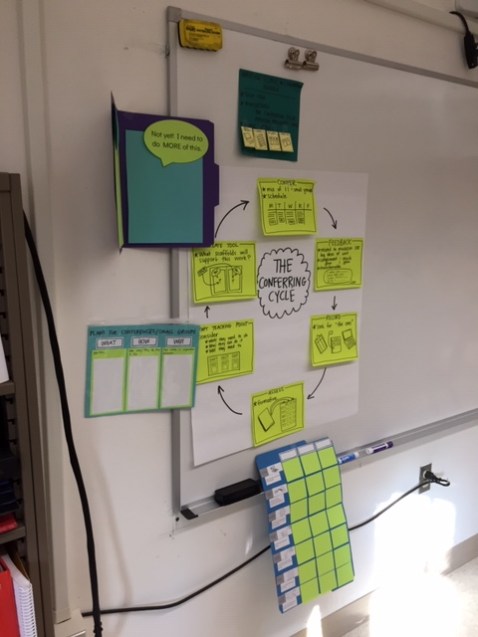
Every teacher left with a tool to use with students or to plan with right away.
After the Clinic, I decided to display all of the materials in the teachers’ workroom so that all teachers had access to the information and materials in case they wanted to DIY the tools.

There’s also a Google Classroom for this work; email me if you want to join.
I can’t wait to hear how the tools work in teachers’ classrooms!

Leave a comment